Full Arch / All-on-X
Full Arch All-on-X CAD Design, Step by Step
Full-arch implant cases need more than placing teeth in CAD. Implant positions, prosthetic space, occlusion, gingiva and production requirements all have to work together. Here is the workflow we use, from the patient scan to production-ready STL files, designed in exocad.
The workflow
Scan → Setup → Implants → Teeth → Gingiva → Occlusion → Final CAD → STL → Production
Screens from our own full-arch cases are shown where available. Steps marked “Illustration” use illustrative images.
 Illustration
01 — Patient scan
Starting with clean digital data
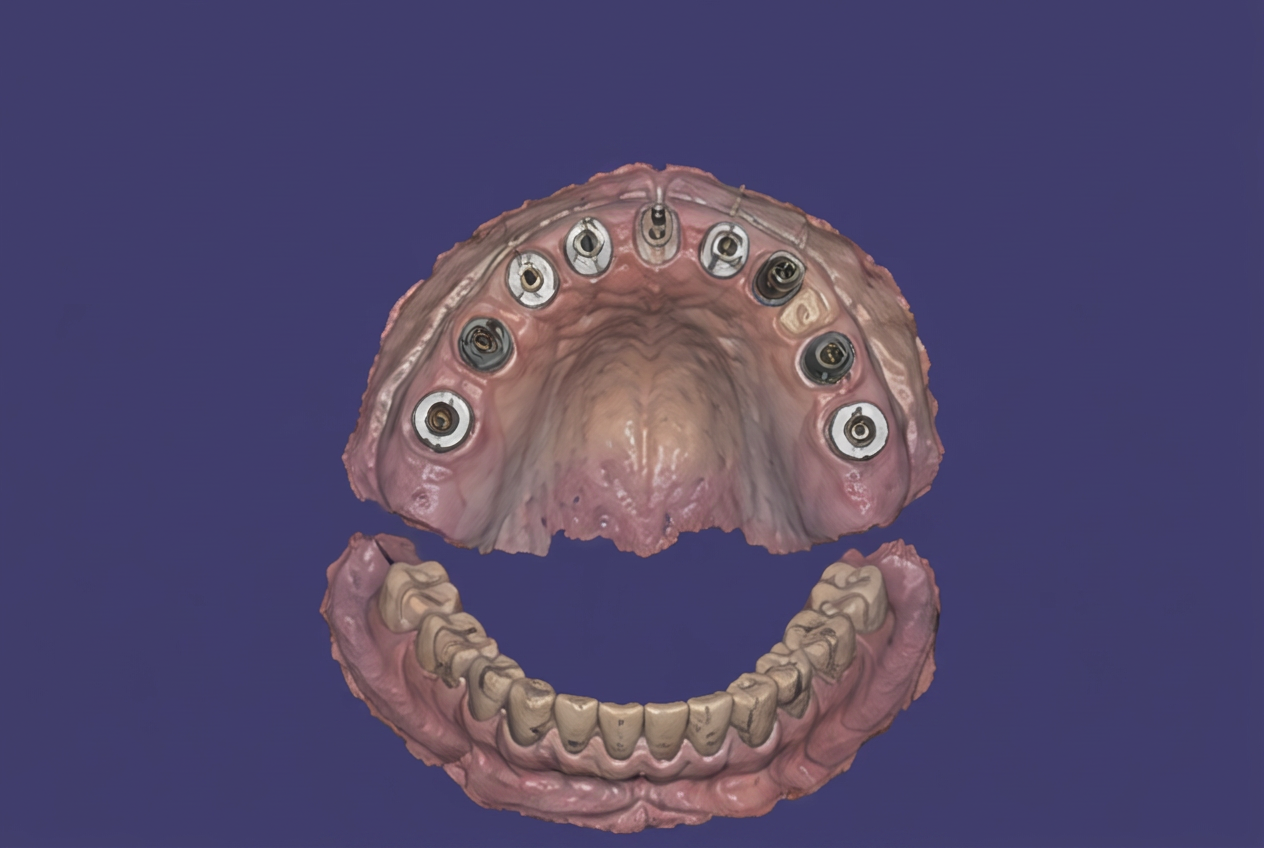
The case begins with the patient's digital scans and the information supplied by the laboratory or clinic. This data sets the relationship between the arches, soft tissue, existing teeth and implant components.
- Upper and lower scans
- Bite registration
- Implant scan bodies
- Implant system and library
- Available prosthetic space
- Clinical prescription
- Aesthetic requirements
02 — Initial setup
Establishing the foundation of the case
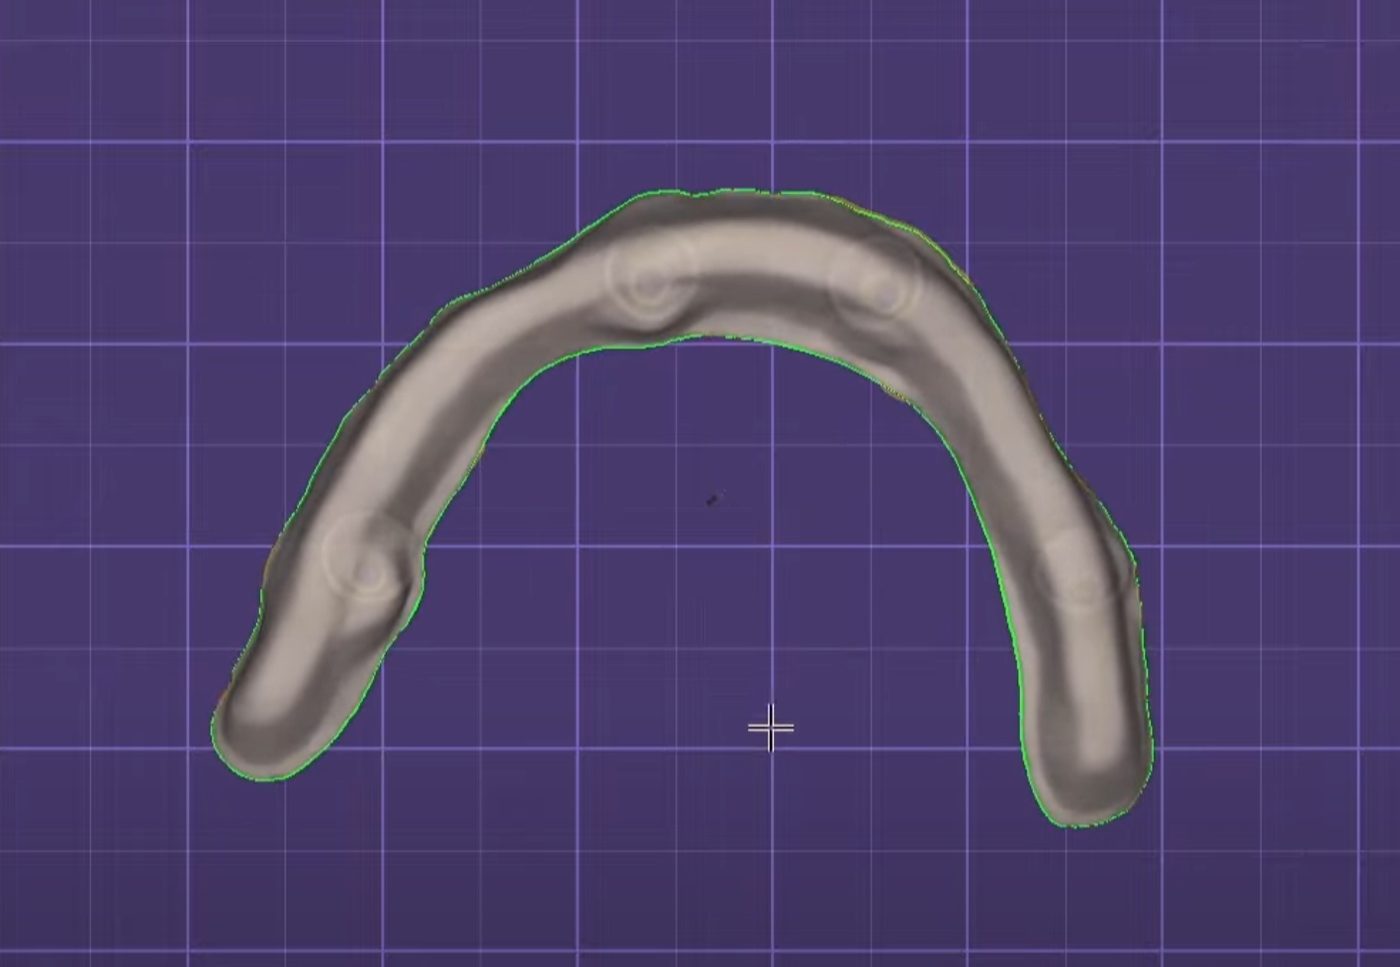
Before developing the final restoration, we build the initial digital setup: we evaluate the available space and define the overall position and proportions of the future restoration, so every later stage rests on a predictable base.
03 — Implant positions
Accurate implant positioning is critical
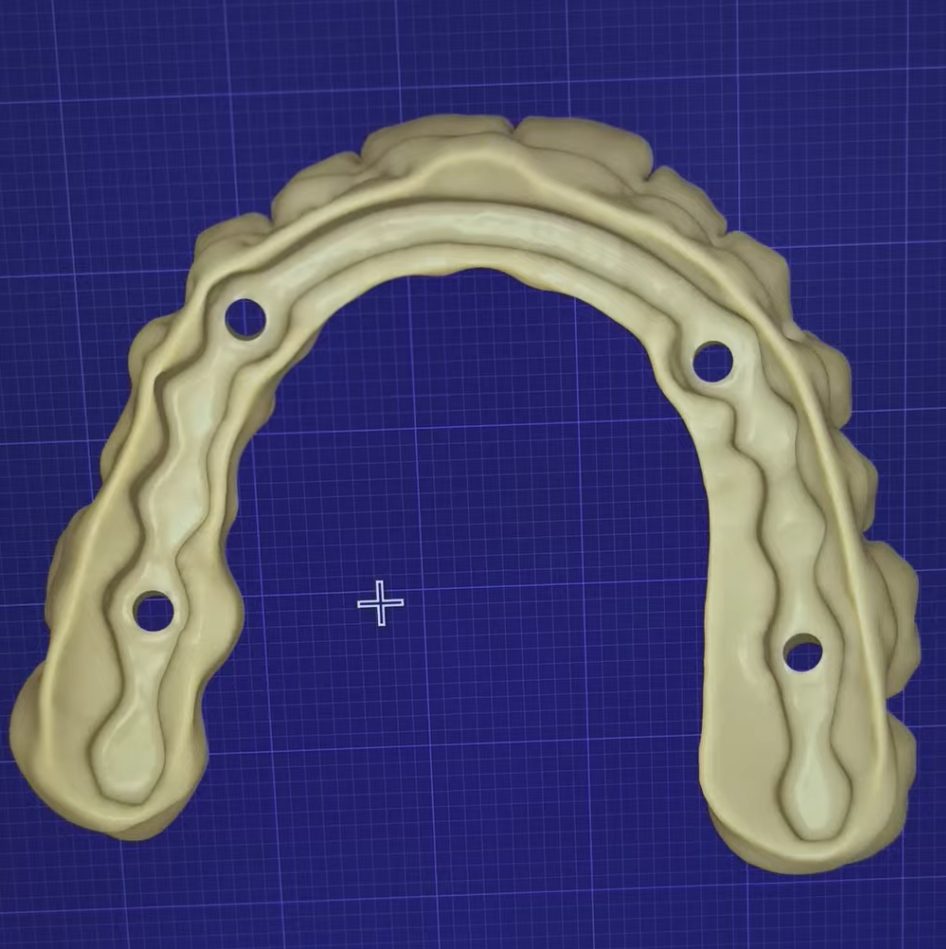
The implant positions define the link between the prosthetic design and the implant-supported structure. We verify the scan-body data and implant library before continuing, and review the available verification records on complex cases.
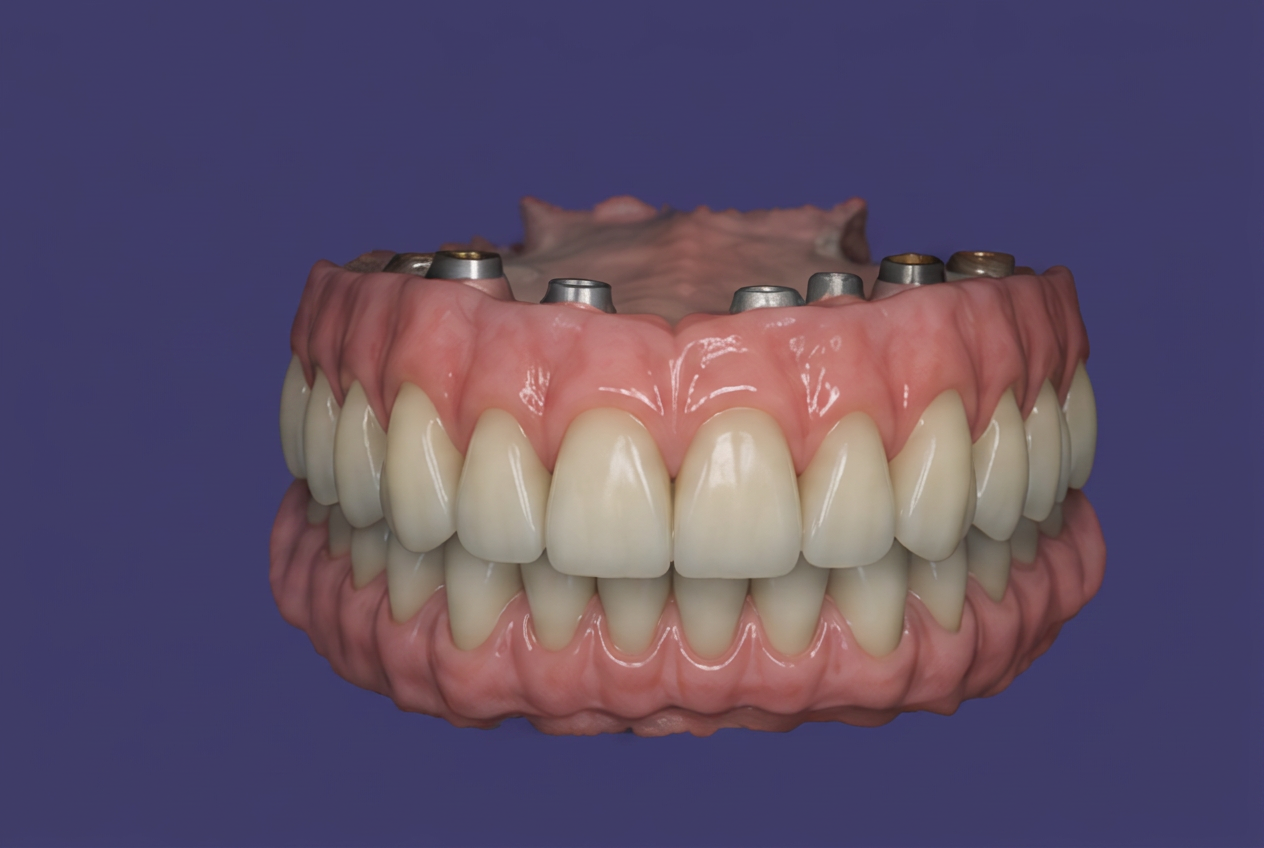
04 — Teeth setup
Building the prosthetic setup
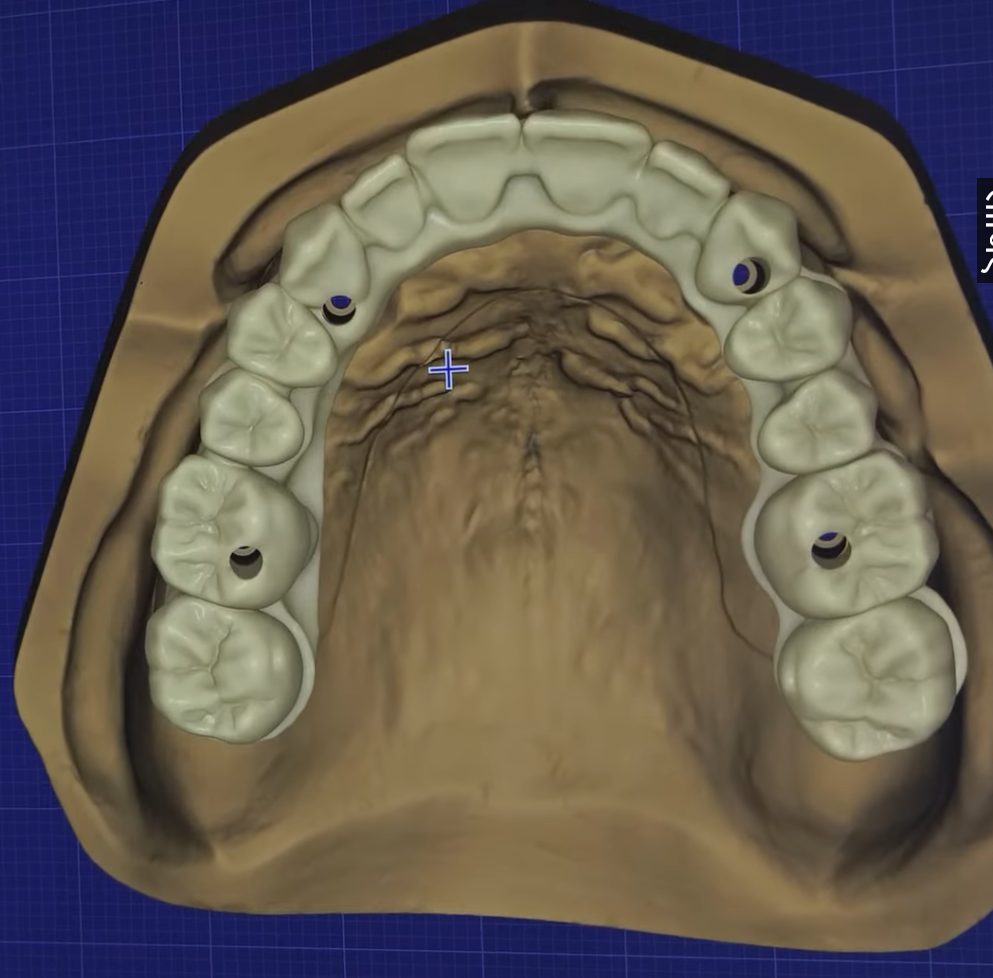
Teeth are positioned according to the available space, aesthetic requirements and functional goals. The setup becomes the reference for the final restoration.
- Tooth proportions
- Midline
- Incisal plane
- Arch form
- Anterior and posterior positioning
- Relationship with the opposing arch
 Illustration
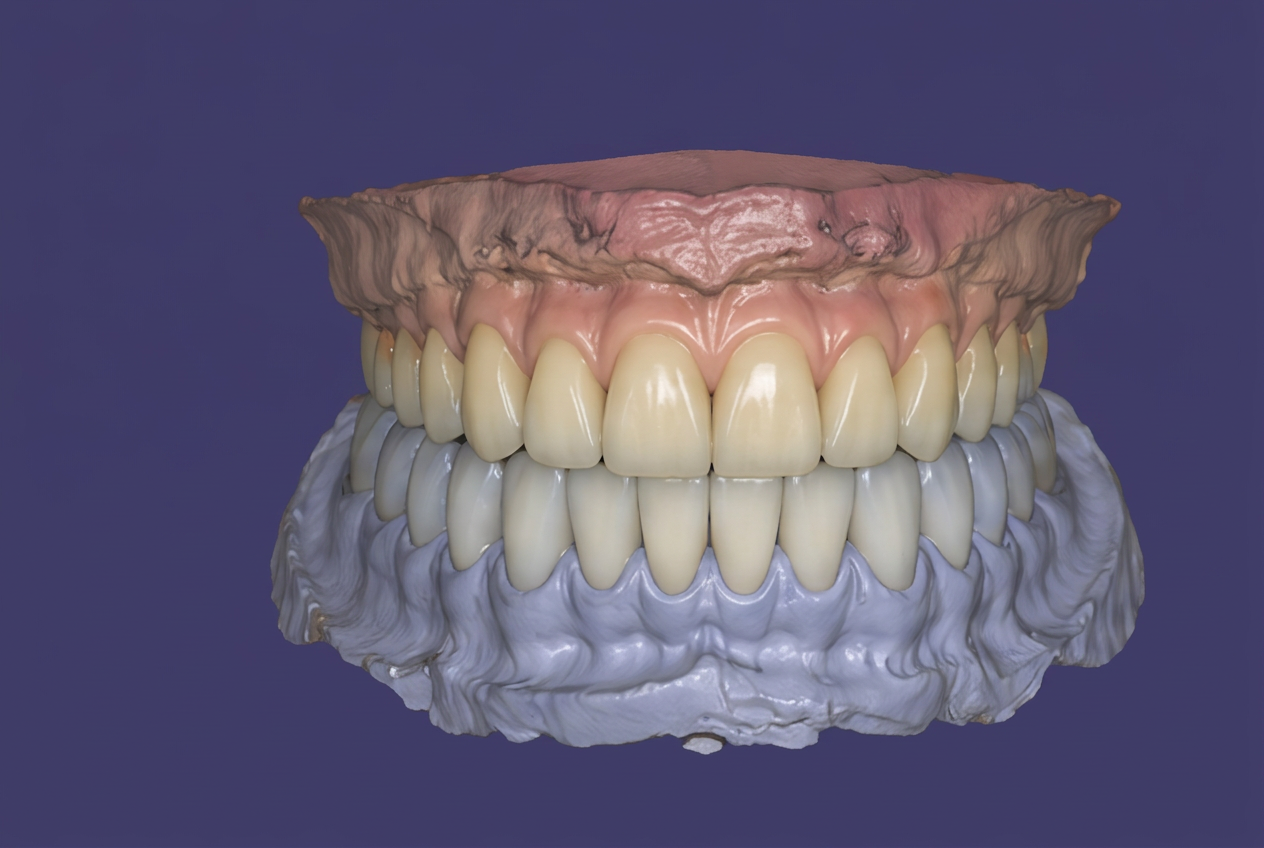
05 — Gingiva
A natural transition between prosthesis and tissue
We refine the gingival architecture around the planned tooth positions while keeping the right space for the restorative concept and production method. For highly aesthetic cases, free-form sculpting can be added.
 Illustration
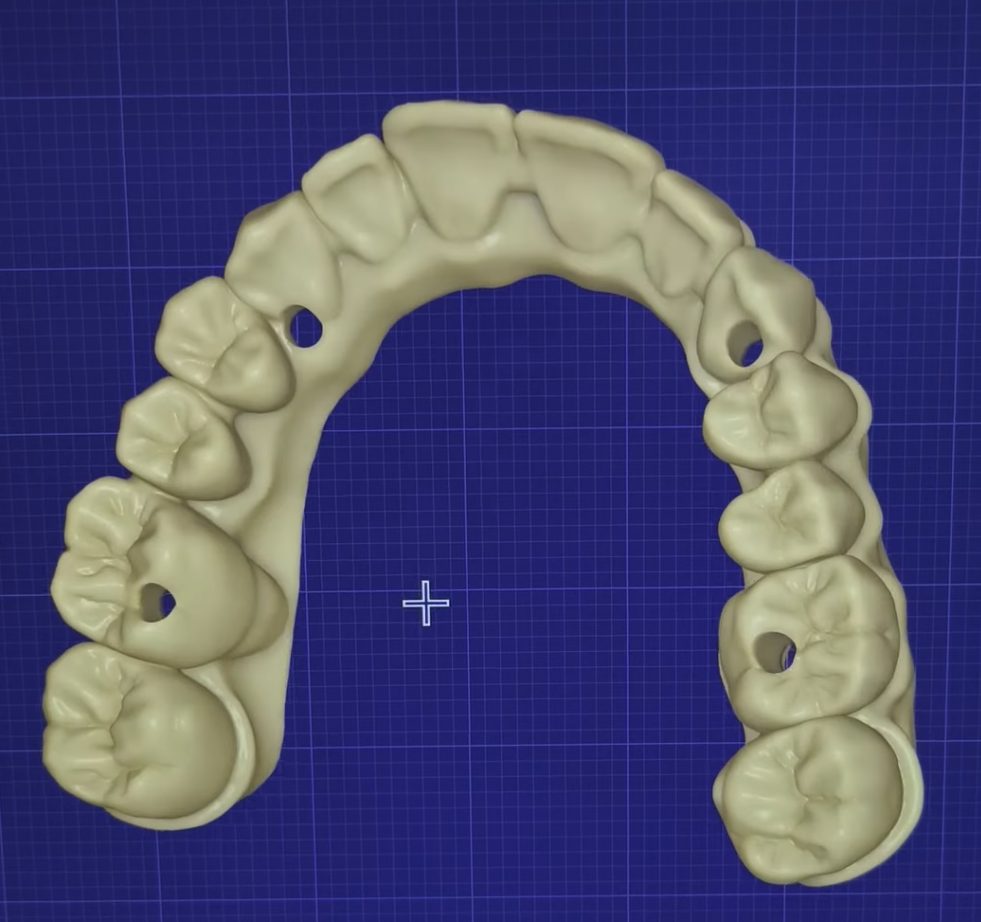
06 — Occlusion
Function is designed in, not checked at the end
The restoration is evaluated against the opposing arch to set the intended occlusal relationship.
- Occlusal contacts
- Vertical space
- Tooth-to-tooth relationship
- Posterior contacts
- Functional clearance
- Overall arch coordination
07 — Final CAD
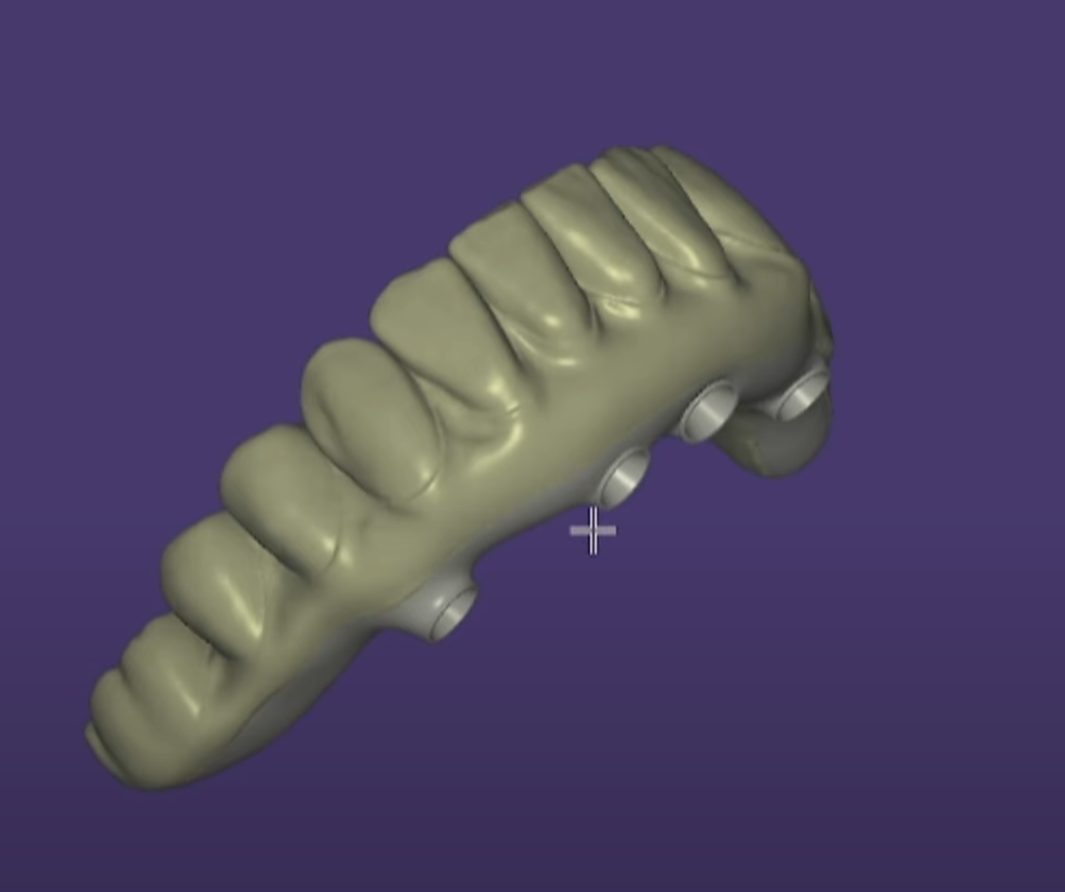
Refining the complete restoration
The complete design is refined and reviewed against the production requirements supplied with the case.
- Overall morphology
- Occlusion and prosthetic space
- Material thickness
- Implant relationship
- Screw access where applicable
- Production geometry and mesh quality
08 — STL output
From CAD design to production-ready file
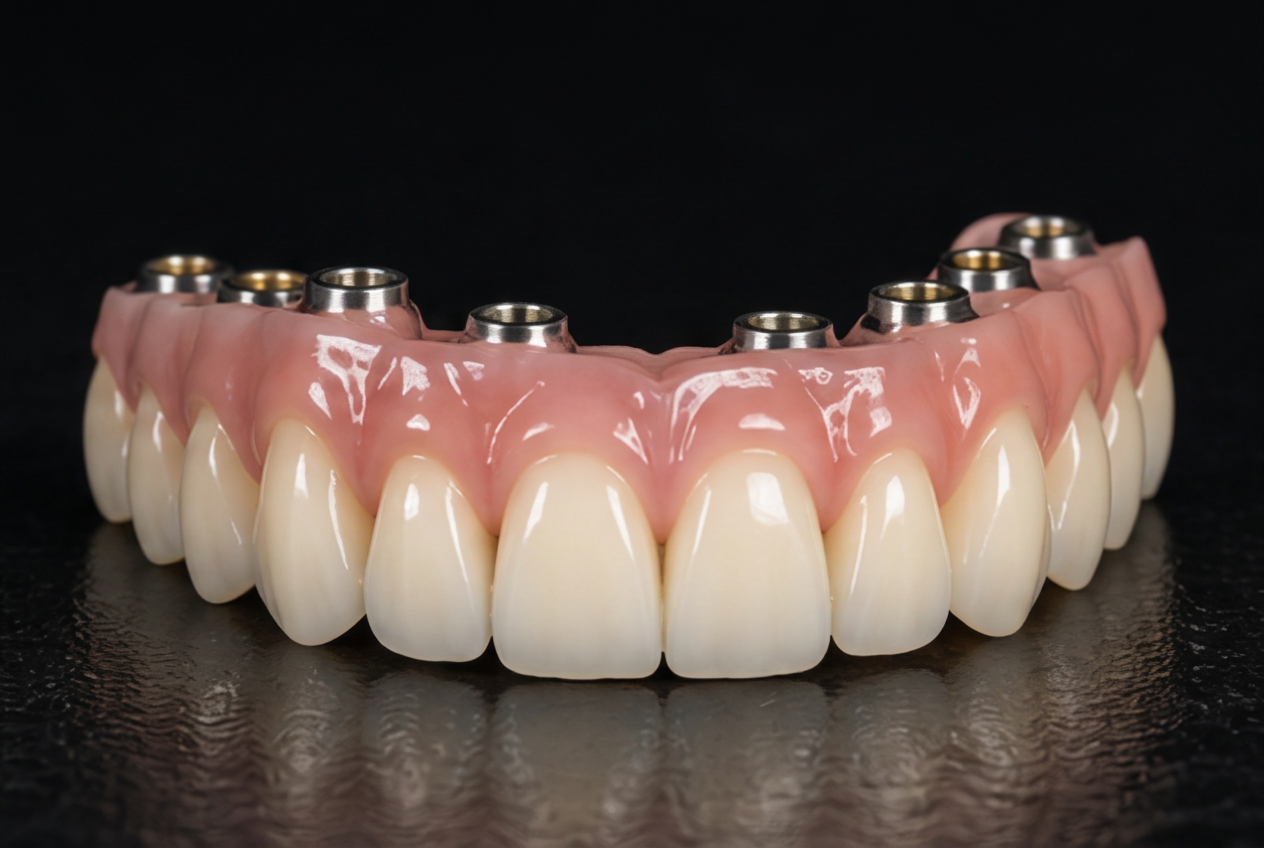
After your approval, the design is exported as production-ready STL, adapted to your milling or 3D-printing workflow, materials and requirements.
 Illustration
09 — Production
The digital design becomes the restoration
Your laboratory mills or prints the approved design and finishes it according to the selected material and protocol. This is where good CAD matters: the digital design has to translate into a predictable physical result.
Working together
You send the case, we design it
You send the case
Scans, prescription and implant data by email.
We design it
In exocad, following your materials and production workflow.
You review it
We make any revisions you need.
You receive the files
Production-ready STL, usually within 1–2 days depending on complexity.
Why outsource
Extra CAD capacity without hiring
Full-arch cases take a lot of CAD time inside a laboratory. Outsourcing the design stage lets your team keep production in-house while adding capacity when you need it, with direct communication with the designer and case-specific design parameters. See also outsourcing for dental labs, how we work and our price list.
Checklist
What we need to start an All-on-X case
- Upper and lower scans
- Bite registration
- Implant scan-body data
- Implant system and platform
- CAD library
- Clinical prescription
- Material requirements
- Aesthetic references or photos
- CBCT or verification data when required
The cleaner and more complete the data, the faster the design can be developed.
Related services
Start your next full-arch case
Email us your case and scans and get a design quote. First case? We'll confirm turnaround before we start.
Prefer email? Send your files directly to info@dmdentaldesign.com.